CMM Inspection
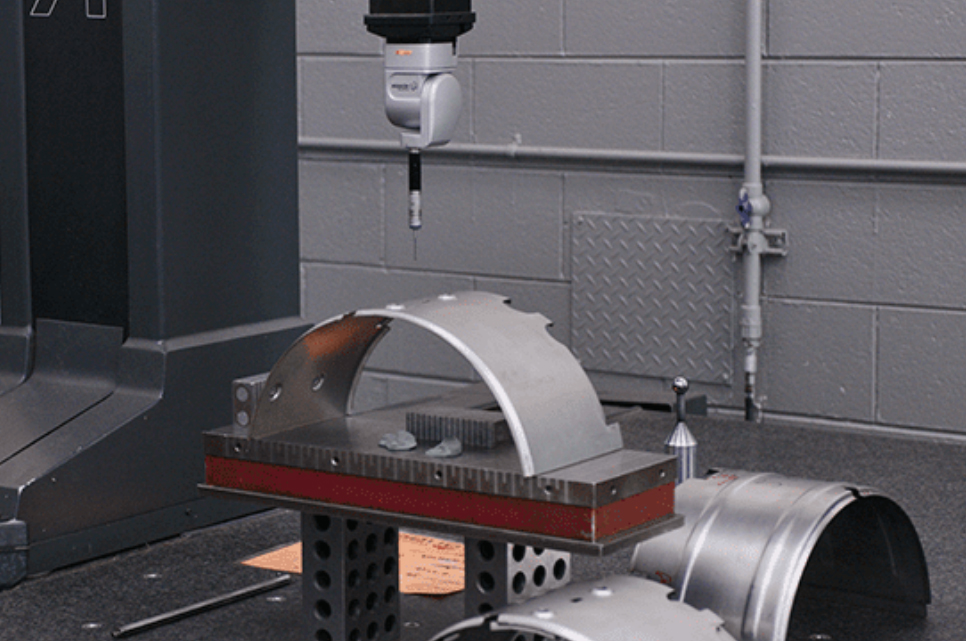
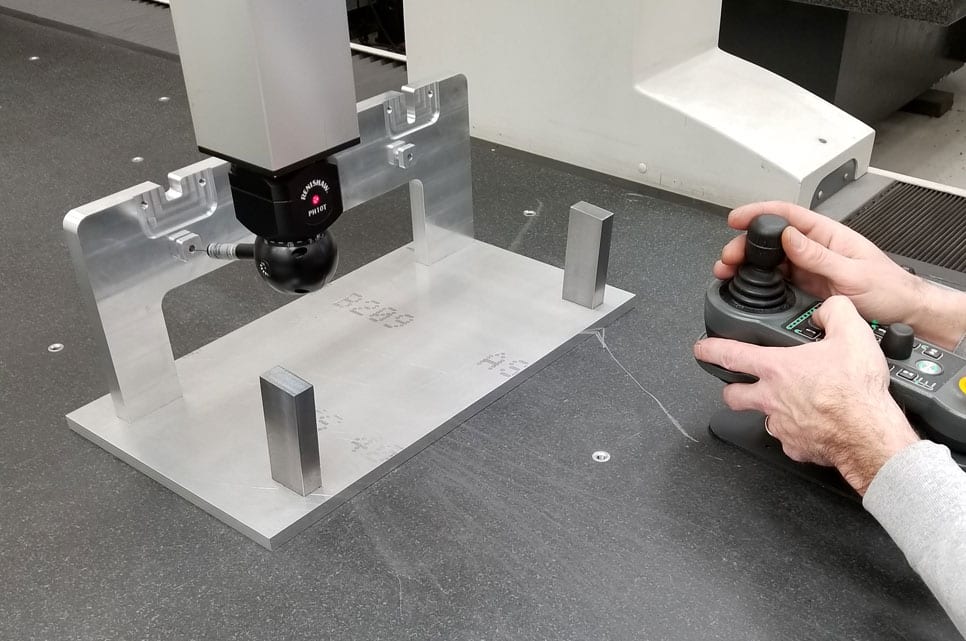
The most common inspection equipment used today is the CMM or (Coordinate Measuring Machine). Our machines are annually calibrated and are accurate to 5 microns (0.005mm) (0.0002”) they are D.C.C. or (Direct Computer Control) meaning they are automated and programmable to check as many points or parts needed. They can be programmed to CAD or to print, roadmaps are created to insure efficiency in comparison of variable data.
- Equipment: (4) DCC CMM’s
- Inspection Envelope: Up to 5’ W x 12’ L x 5’ H
- Software: PC-DMIS
INSPECTION CAPABILITIES
| Equipment: | 4 DCC CMM’s (Direct Computer Control Coordinate Measuring Machines) |
| Technology: | PC DMIS software |
| Precision: | Calibrated and repeatable to 5 microns (0.005 mm) |
| Part Sizes: | Up to 5’ W x 12’ L x 5’ H |
| Certifications: | ISO 9001:2015, IATF 16949:2016, AS9100-D, ISO/IEC 17025 |


Blue Light Scanning
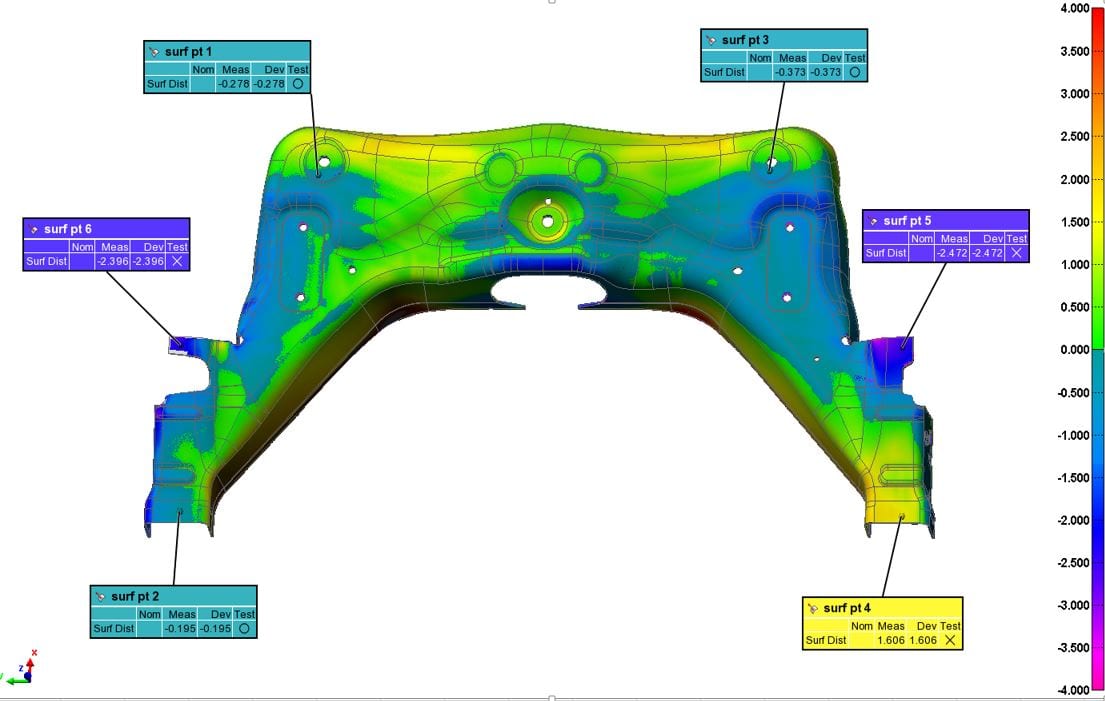
Duggan utilizes the most current technology to rapidly move prototype into production. The FARO Blue Light Scanner can provide a full color representation “Heat Map” that is accurate within 20 microns (0.02mm) or (0.00079”) and repeatable to 7 microns (0.007mm) or (0.00027”). It’s ability to rapidly check components, assemblies and fixtures makes the Blue Light Scanner the tool of choice. Utilizing the POLYWORKS Software enables us to provide a wide range of report options that includes all required variable data, heat map, trend charts, capability and can export data into excel or word formats so we can provide the information on your form or spreadsheet.
- Equipment: 12’ FARO Edge Blue Light Scanner/Portable CMM
- Inspection Envelope: 12’ Diameter (expandable)
- Software: POLYWORKS
BLUE LIGHT SCANNING
| Equipment: | FARO Edge portable CMM |
| Technology: | Polyworks software |
| Precision: | Calibrated and repeatable to 7 microns (0.007 mm) |
| Part Sizes: | Up to 12’ diameter work envelope |
| Certifications: | ISO 9001:2015, IATF 16949:2016, AS9100-D, ISO/IEC 17025 |

Metallurgical Lab
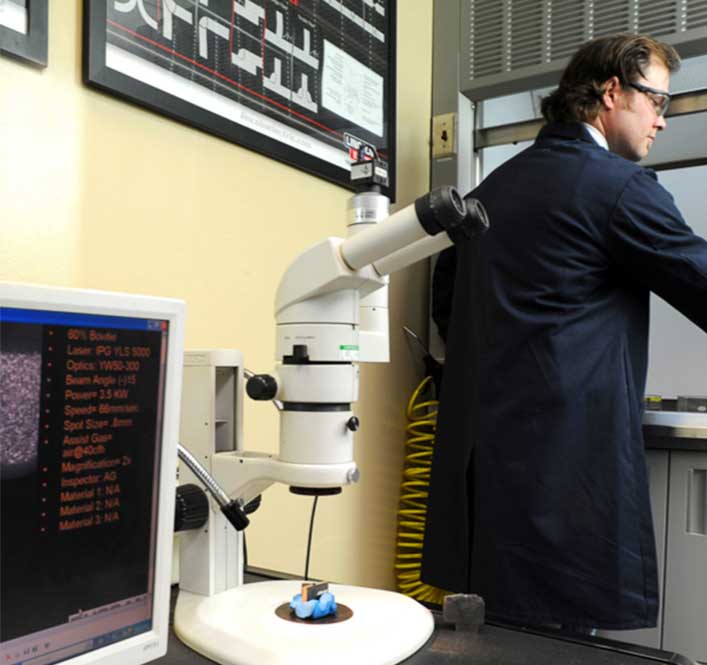
Duggan Manufacturing offers in house metallurgy and destructive testing services. Our A2LA accredited, ISO/IEC 17025 laboratory is where we destructively test and certify all of our joining processes prior to part production. We commonly perform cut and etch evaluation for macroscopic verification of weldments on a calibrated microscope, torque and compression break tests on welded and clinched fasteners, bend tests on weld and welder qualification tests, and tension tests for fastener and weld strength evaluations, and material verification.
We not only perform internal verification for our own projects, but also offer laboratory testing on demand for external weld or fastener verification if you require an accredited laboratory.
Check out our capabilities below:
METALLURICAL LAB
| Equipment: | 60,000Lb capacity Tinius Olsen Electomatic Tension and Compression Tester, Olympus SZ61 Microscope with Paxcam and Pax-It! Weld measurement software |
| Certifications: | ISO 9001:2015, IATF 16949:2016, AS9100-D, ISO/IEC 17025 |


